ios如何自定义聊天气泡-UITableView-cells
2024-11-28
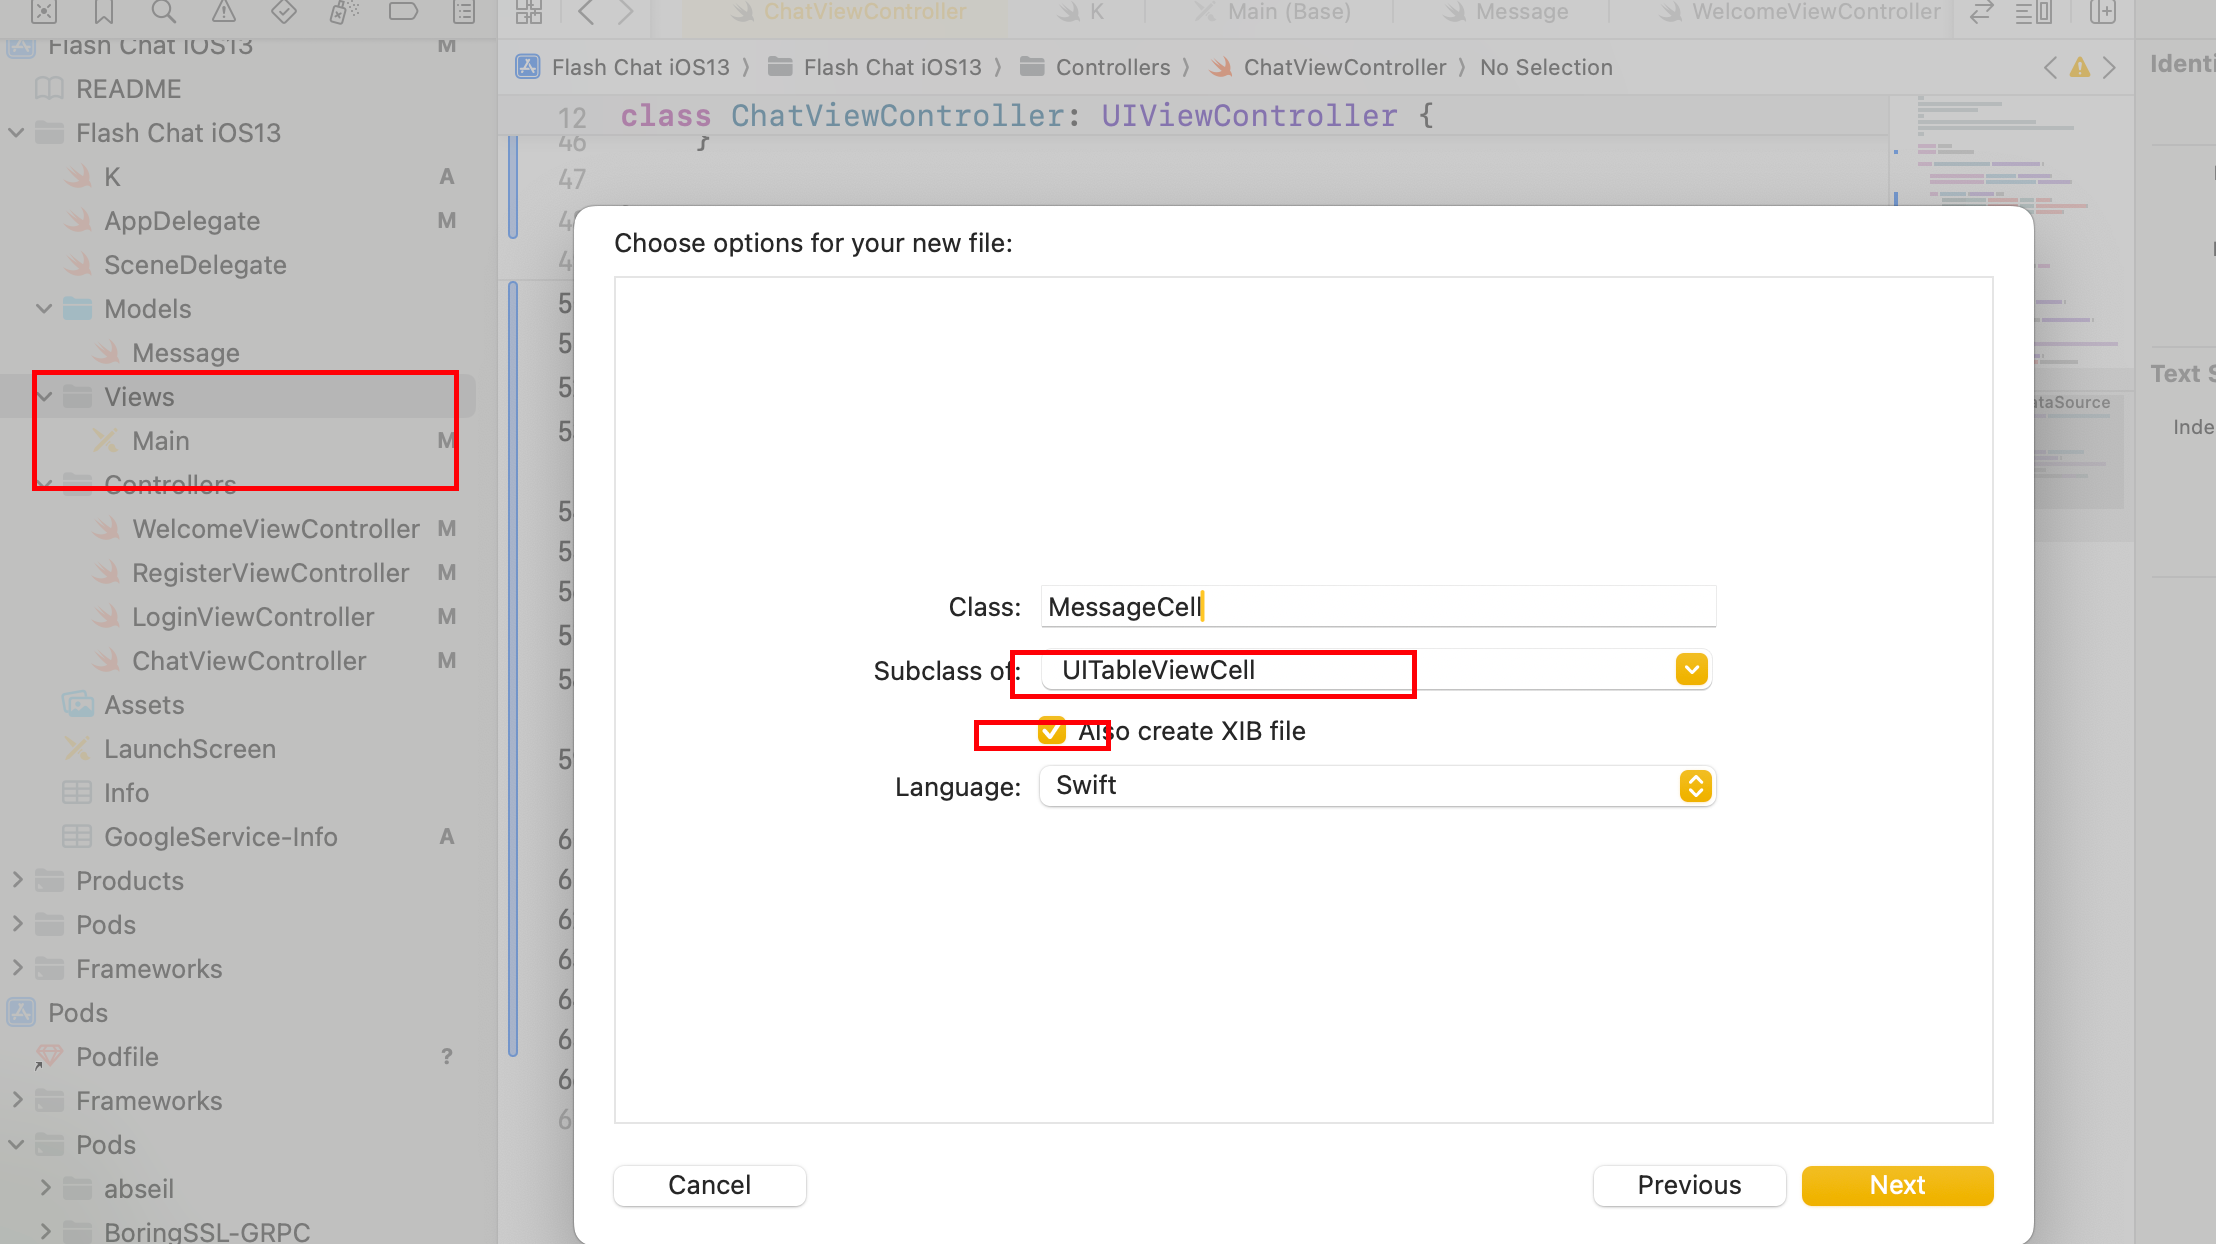
在Views文件夹新建一个Cocoa Touch Class,记得勾选.xlb文件,以获取UI界面。
在里面添加元素。
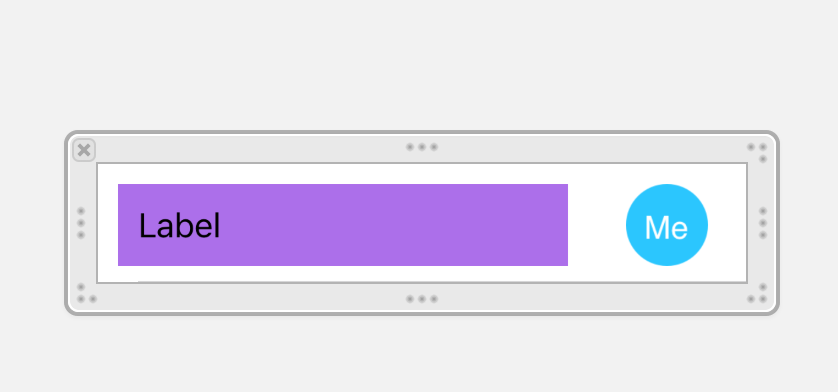
聊天软件一般是需要一个气泡view和ImageView(可以在Image属性里改成Avatar头像)
这两个需要组成一个stack,stack的constraints设计成上下左右各10px。
ImageView强制宽和高40x40.
在气泡view里面加上Label,constraints同样设计成上下左右各10px。
如图:
label允许换行
将lines属性设置成0即可。
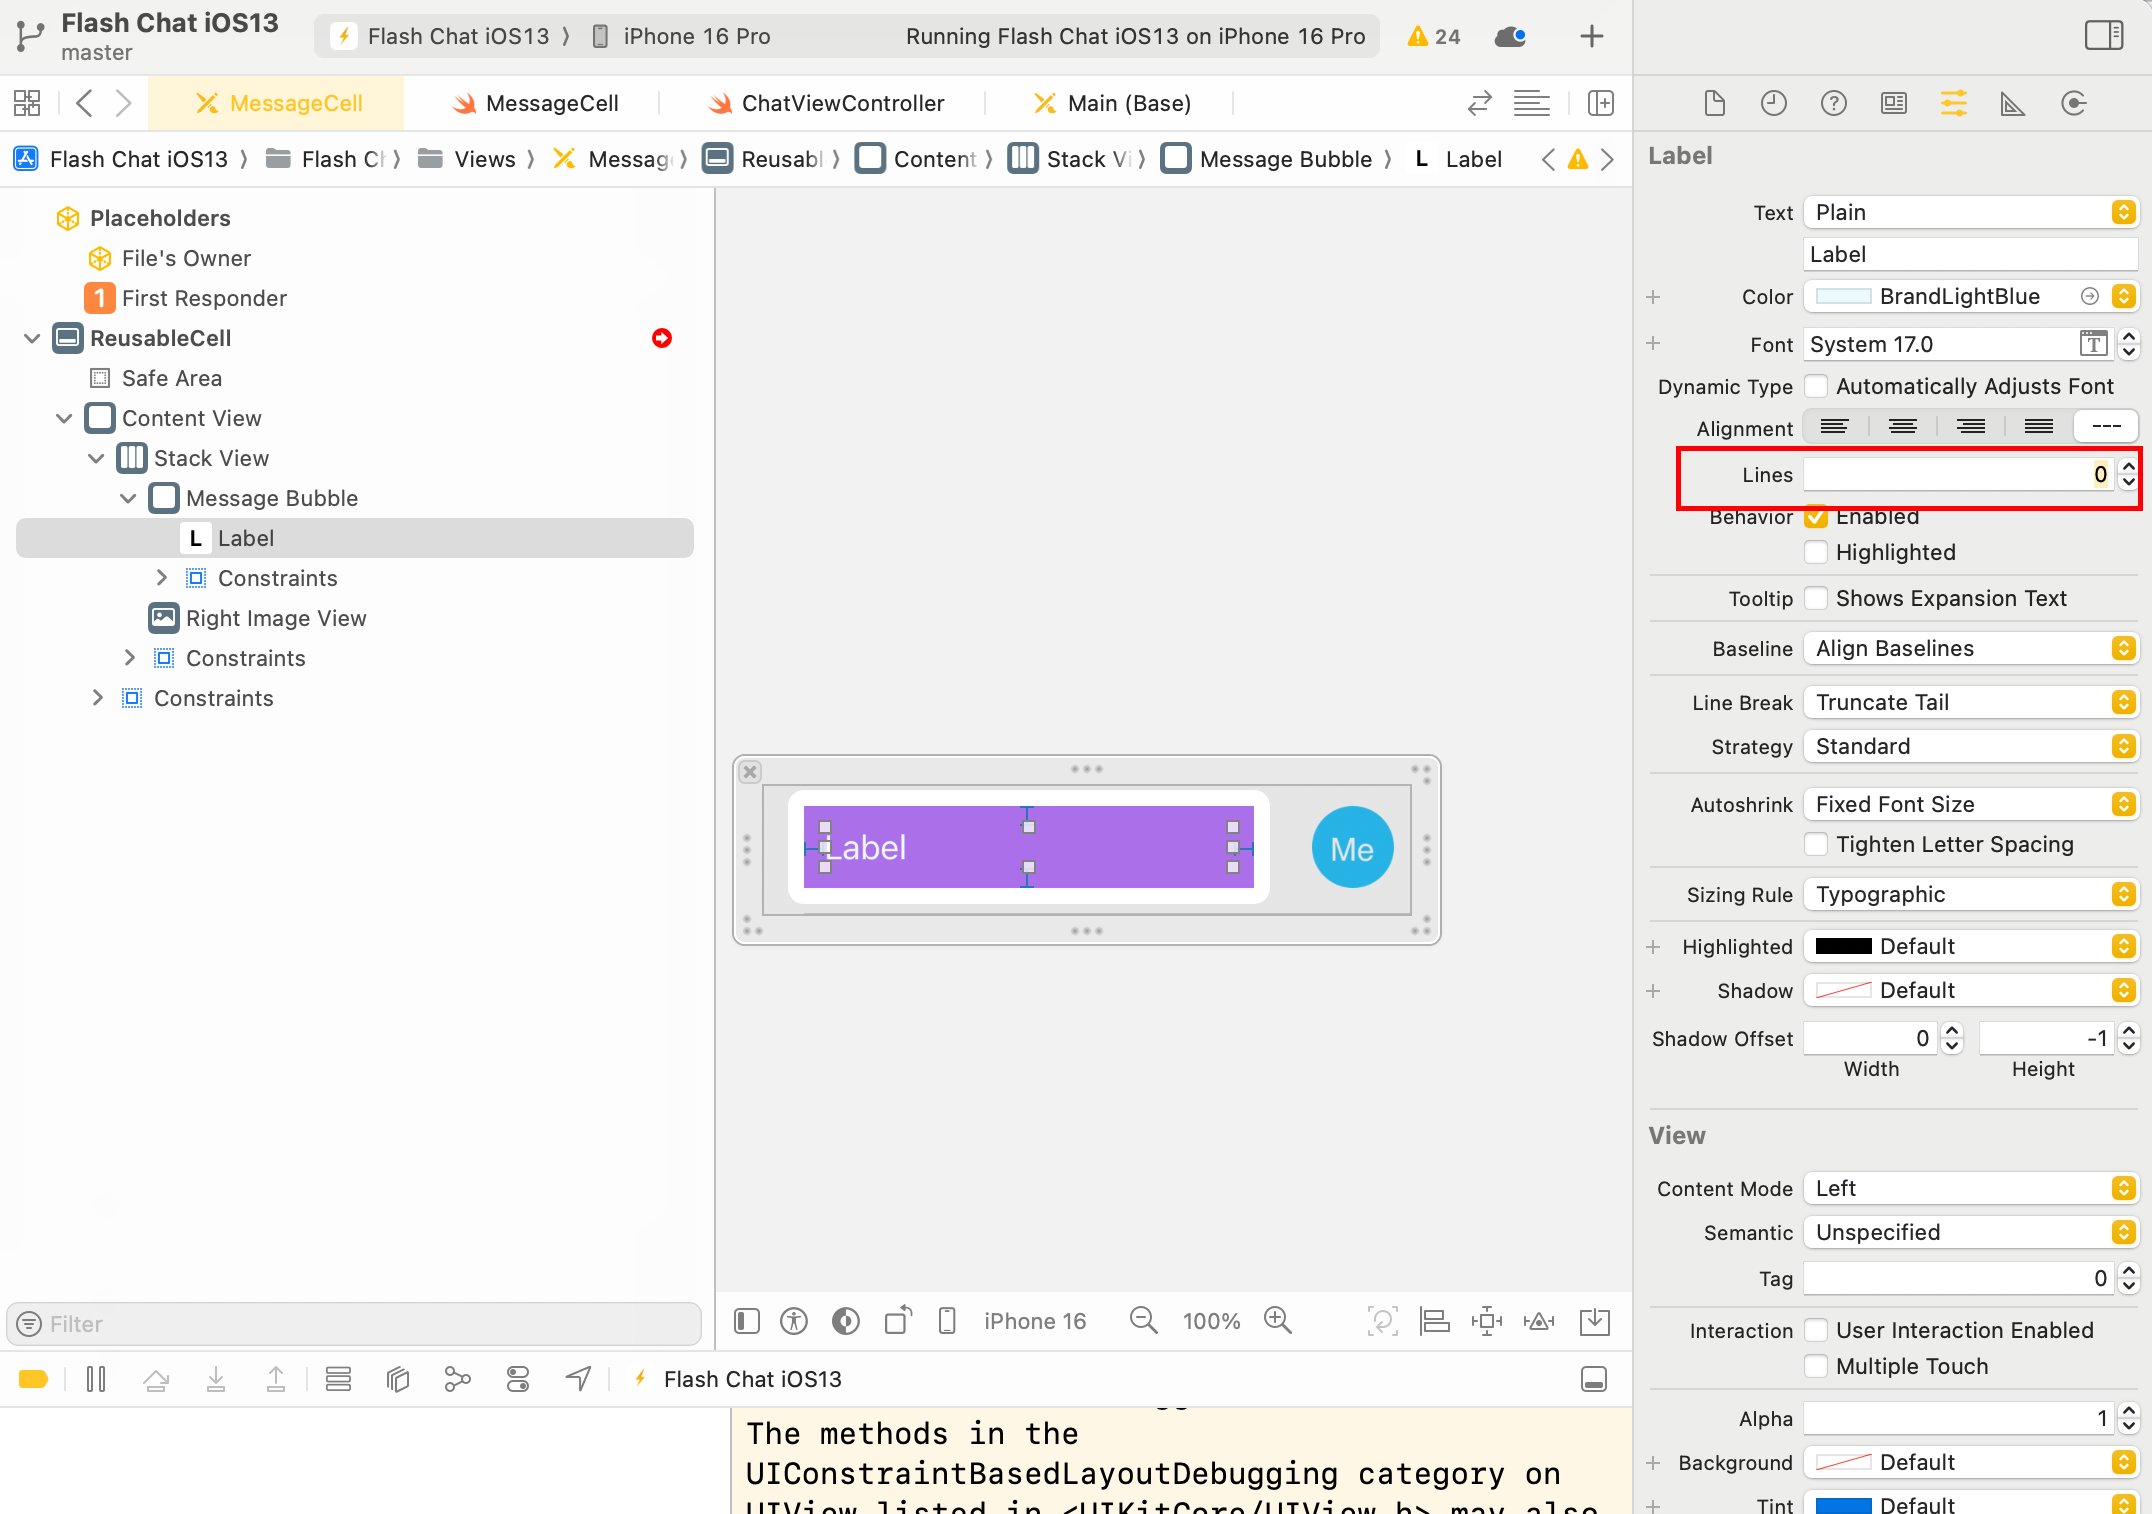
此时,对齐会显得奇怪,将stack的对齐方式(alignment)设置成Top即可。
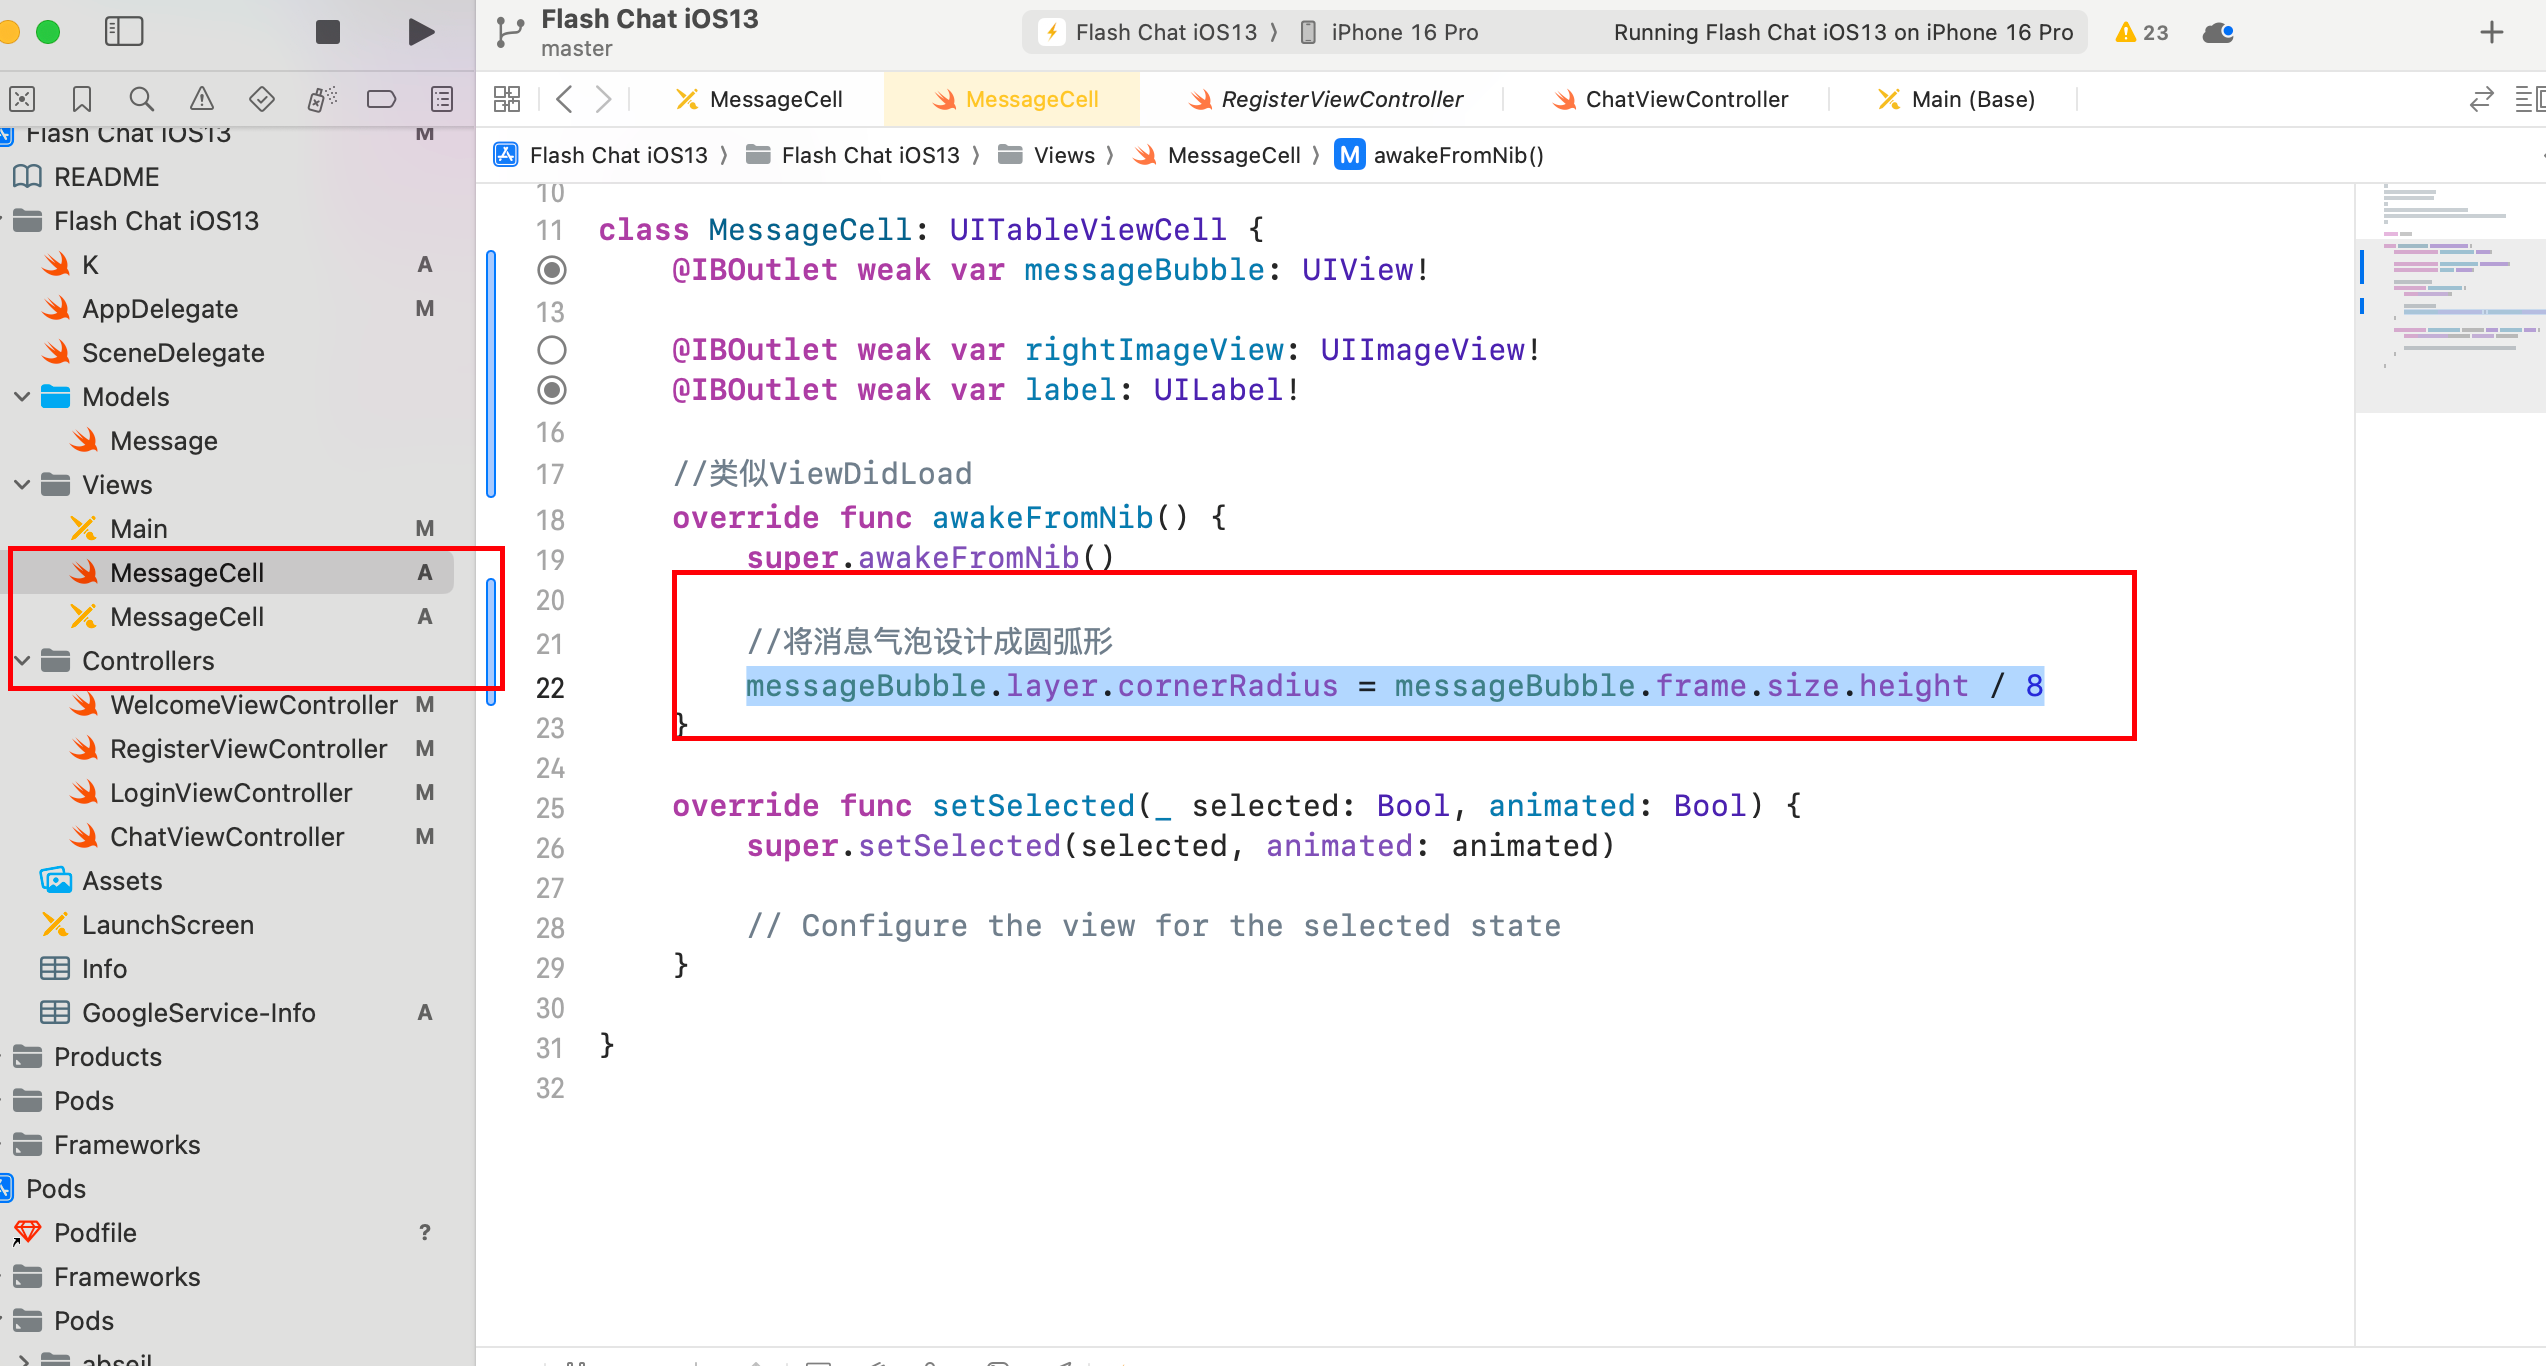
给气泡view加上弧度
在MessageCell的awakeFromNib加上以下内容即可:
messageBubble.layer.cornerRadius = messageBubble.frame.size.height / 8
调整弧度:调整分母即可。分母越大,弧度越小。
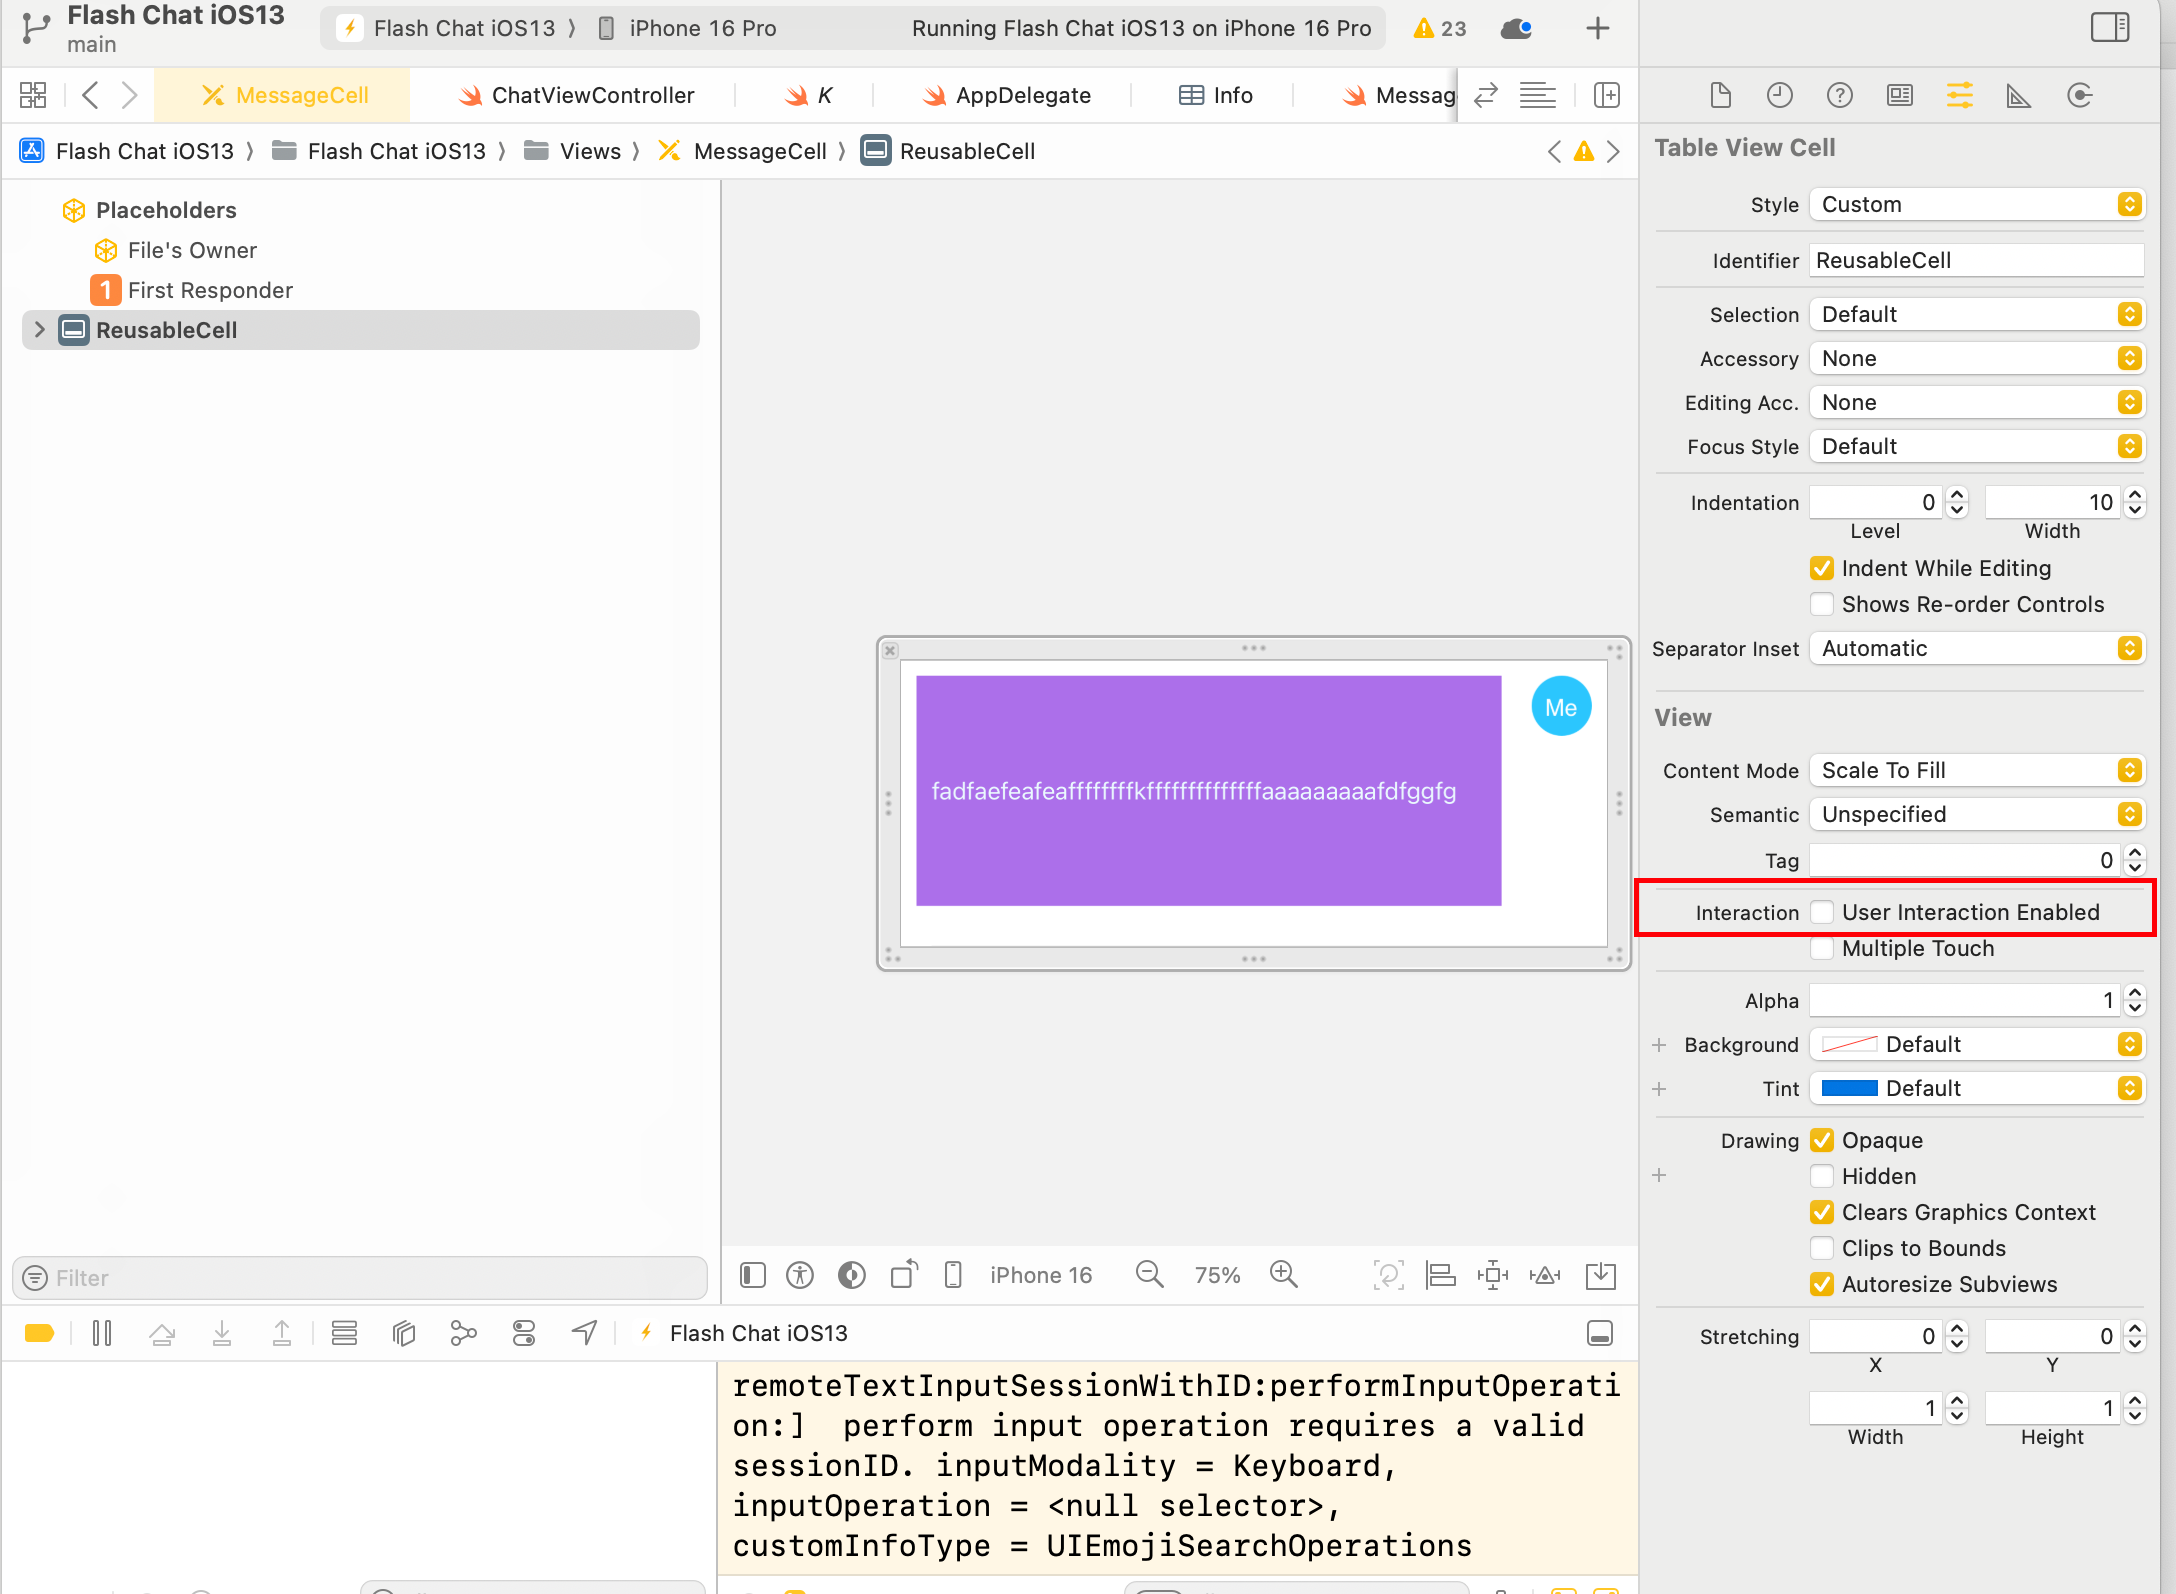
不让用户选择cell
即选中时不会呈现灰色背景。
inspectors - Interaction - 不要勾选User Interation Enabled即可
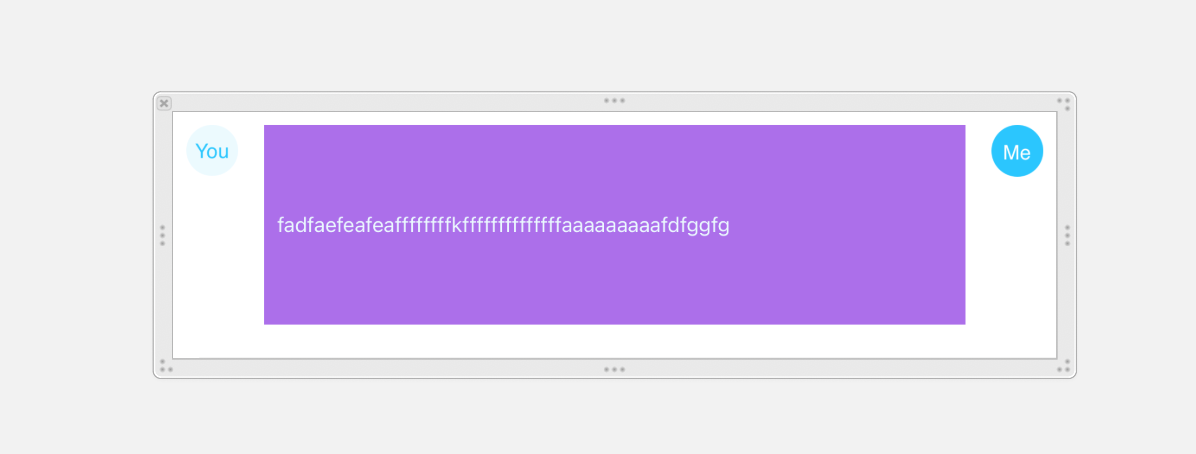
对话气泡
首先,做一个左右的对话UI
条件选择
根据登陆者是当前账号或者其他账号,显示不同的UI,以及隐藏左边/右边的头像。
//每个cell都使用的方法
    func tableView(_ tableView: UITableView, cellForRowAt indexPath: IndexPath) -> UITableViewCell {

        let message = messages[indexPath.row]

        let cell = tableView.dequeueReusableCell(withIdentifier: K.cellIdentifier, for:indexPath) as! MessageCell //as!强制类型下降
        cell.label.text = message.body

        // This is a message from the current user
        if message.sender == Auth.auth().currentUser?.email {
            cell.leftImageView.isHidden = true
            cell.rightImageView.isHidden = false
            cell.messageBubble.backgroundColor = UIColor(named: K.BrandColors.lightPurple)
            cell.label.textColor = UIColor(named: K.BrandColors.purple)
        } else {
            // This is a message from the another sender.
            cell.leftImageView.isHidden = false
            cell.rightImageView.isHidden = true
            cell.messageBubble.backgroundColor = UIColor(named: K.BrandColors.purple)
            cell.label.textColor = UIColor(named: K.BrandColors.lightPurple)
        }


        return cell

    }
如何每次自动跳到最下面的对话
在loadMessages()里面加上这个代码即可。
//后台运行异步任务
DispatchQueue.main.async {
   self.tableView.reloadData()

   //表格可以区分不同section,像apple设置里面一样,我们没有设置,所以是0
   let indexPath = IndexPath(row: self.messages.count - 1, section: 0)

   self.tableView.scrollToRow(at: indexPath, at: .top, animated: true)
}
